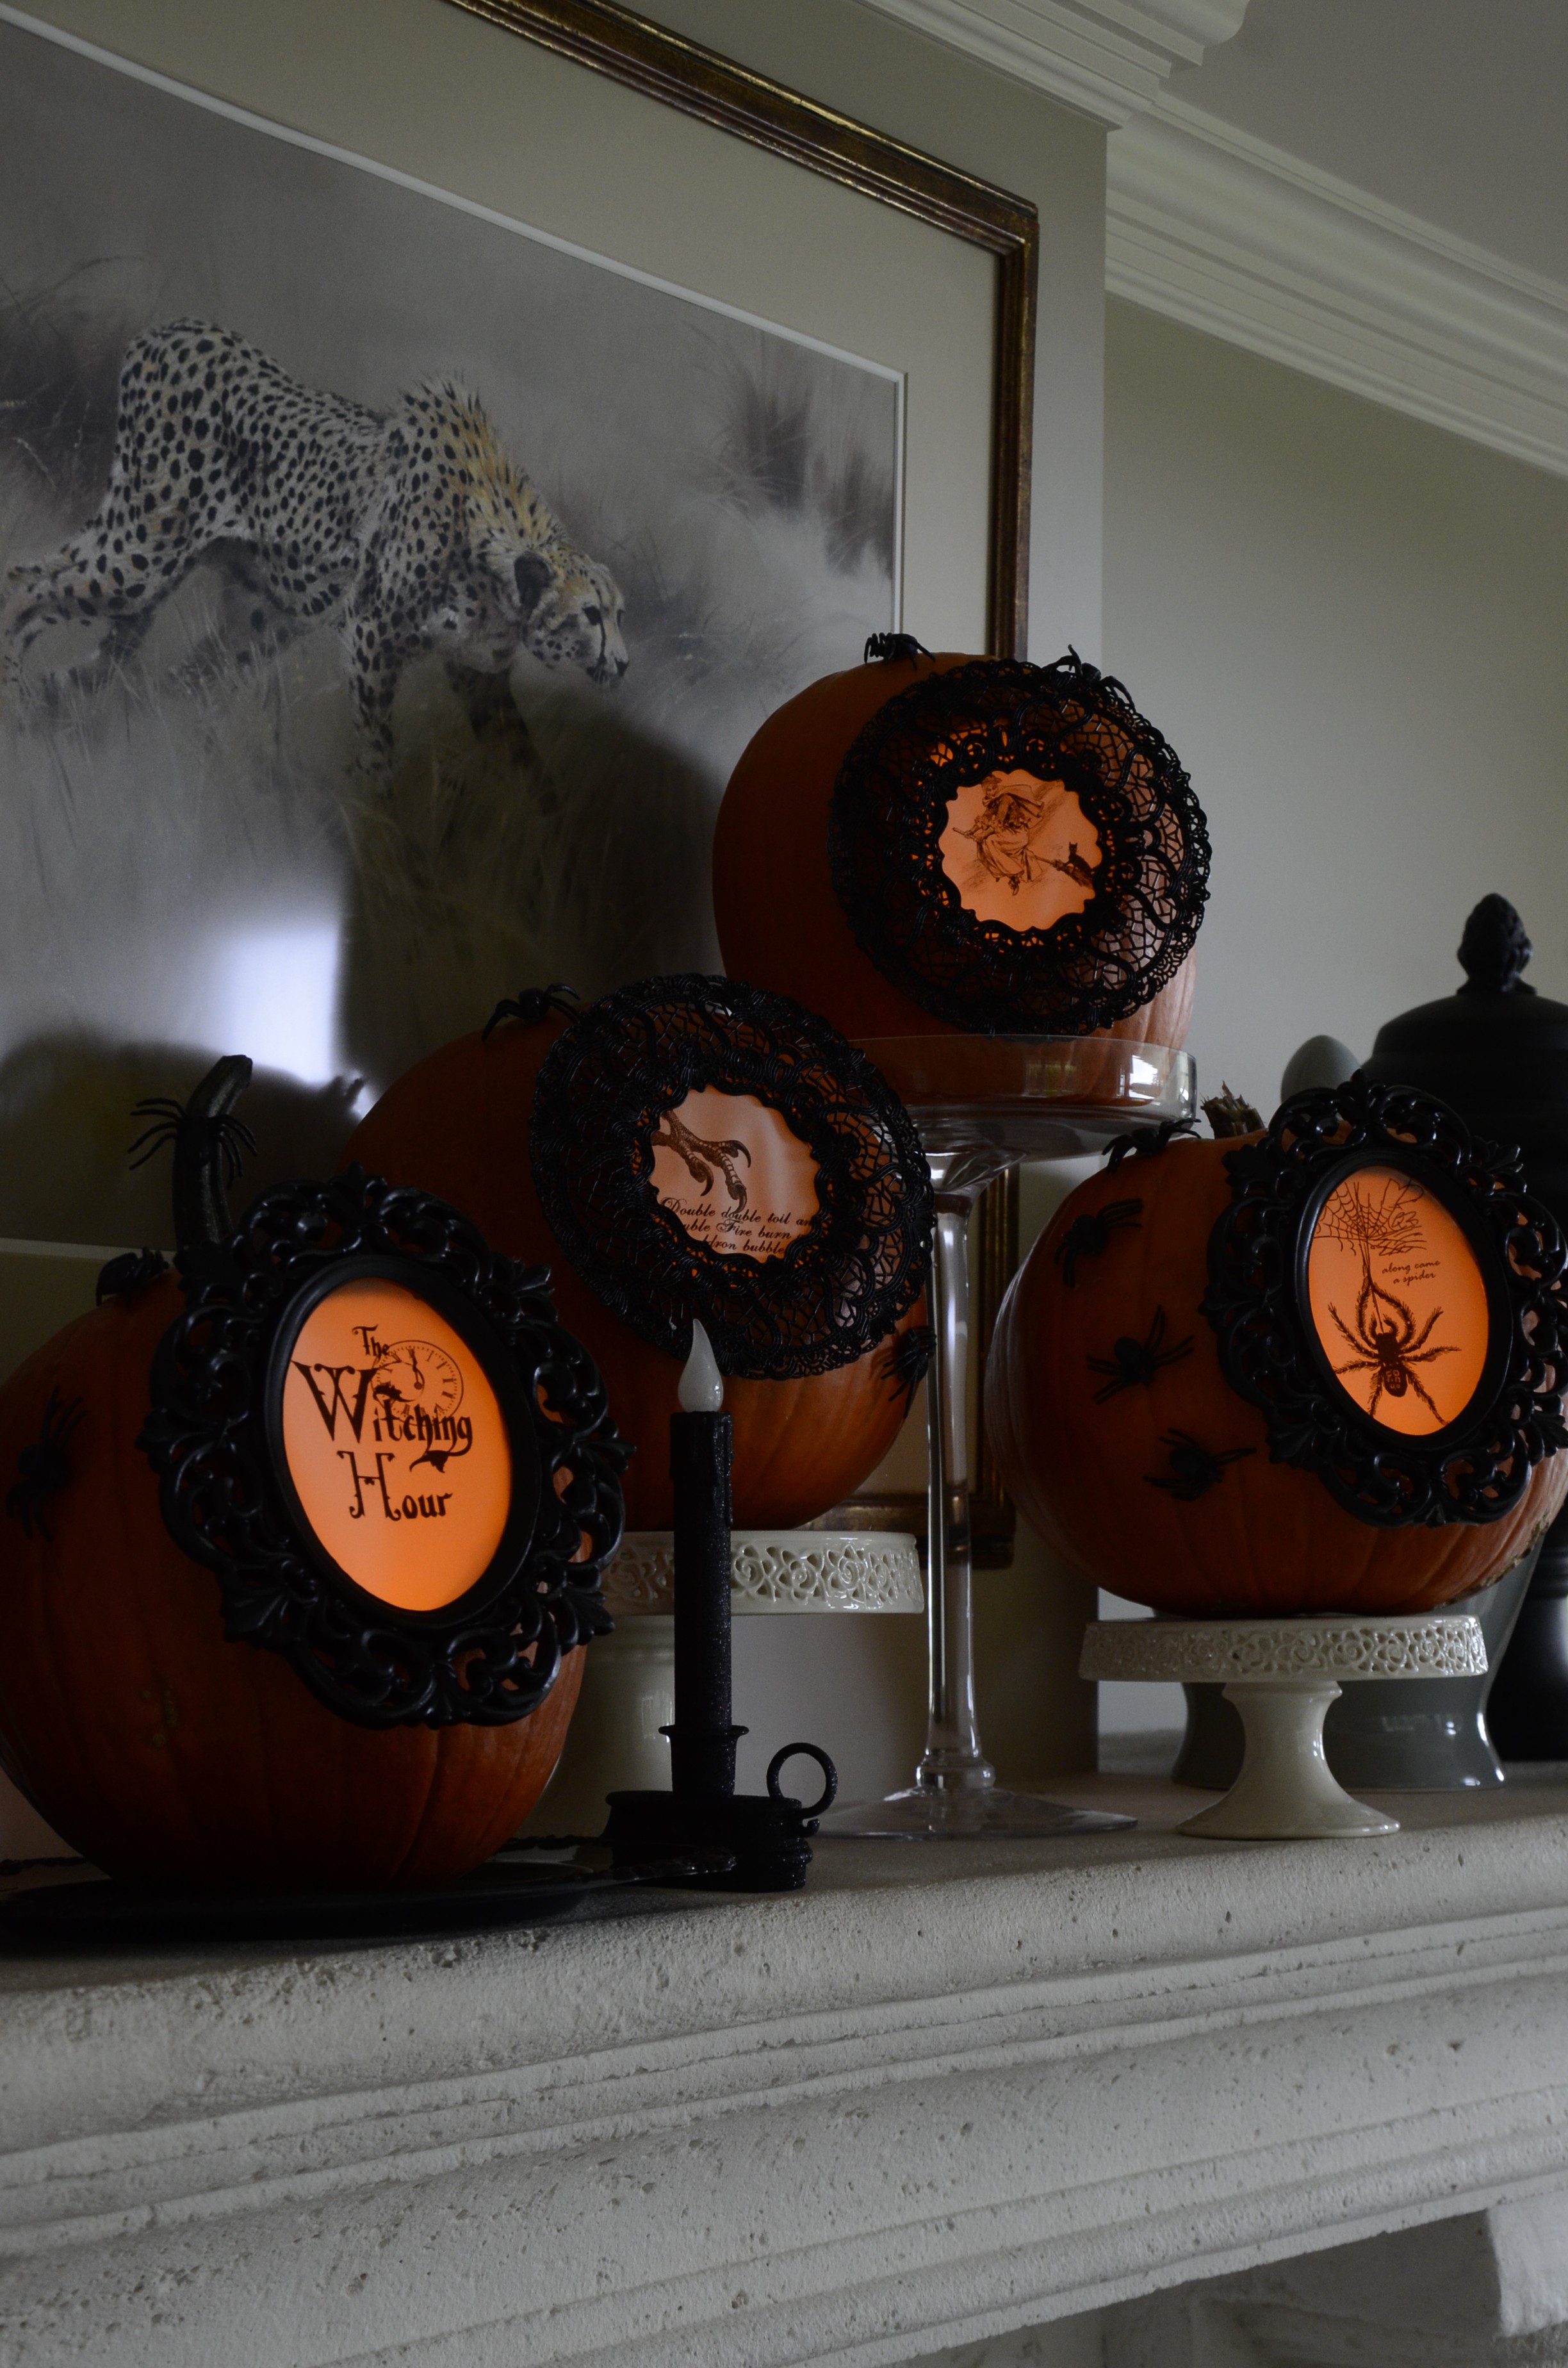
A Break from Tradition
This is a new take on pumpkin carving. It will take a little bit of pre-planning and organizing but it’s worth it. Think of your pumpkin display this year … the possibilities are endless.
 Step 1: Download images for your frames.
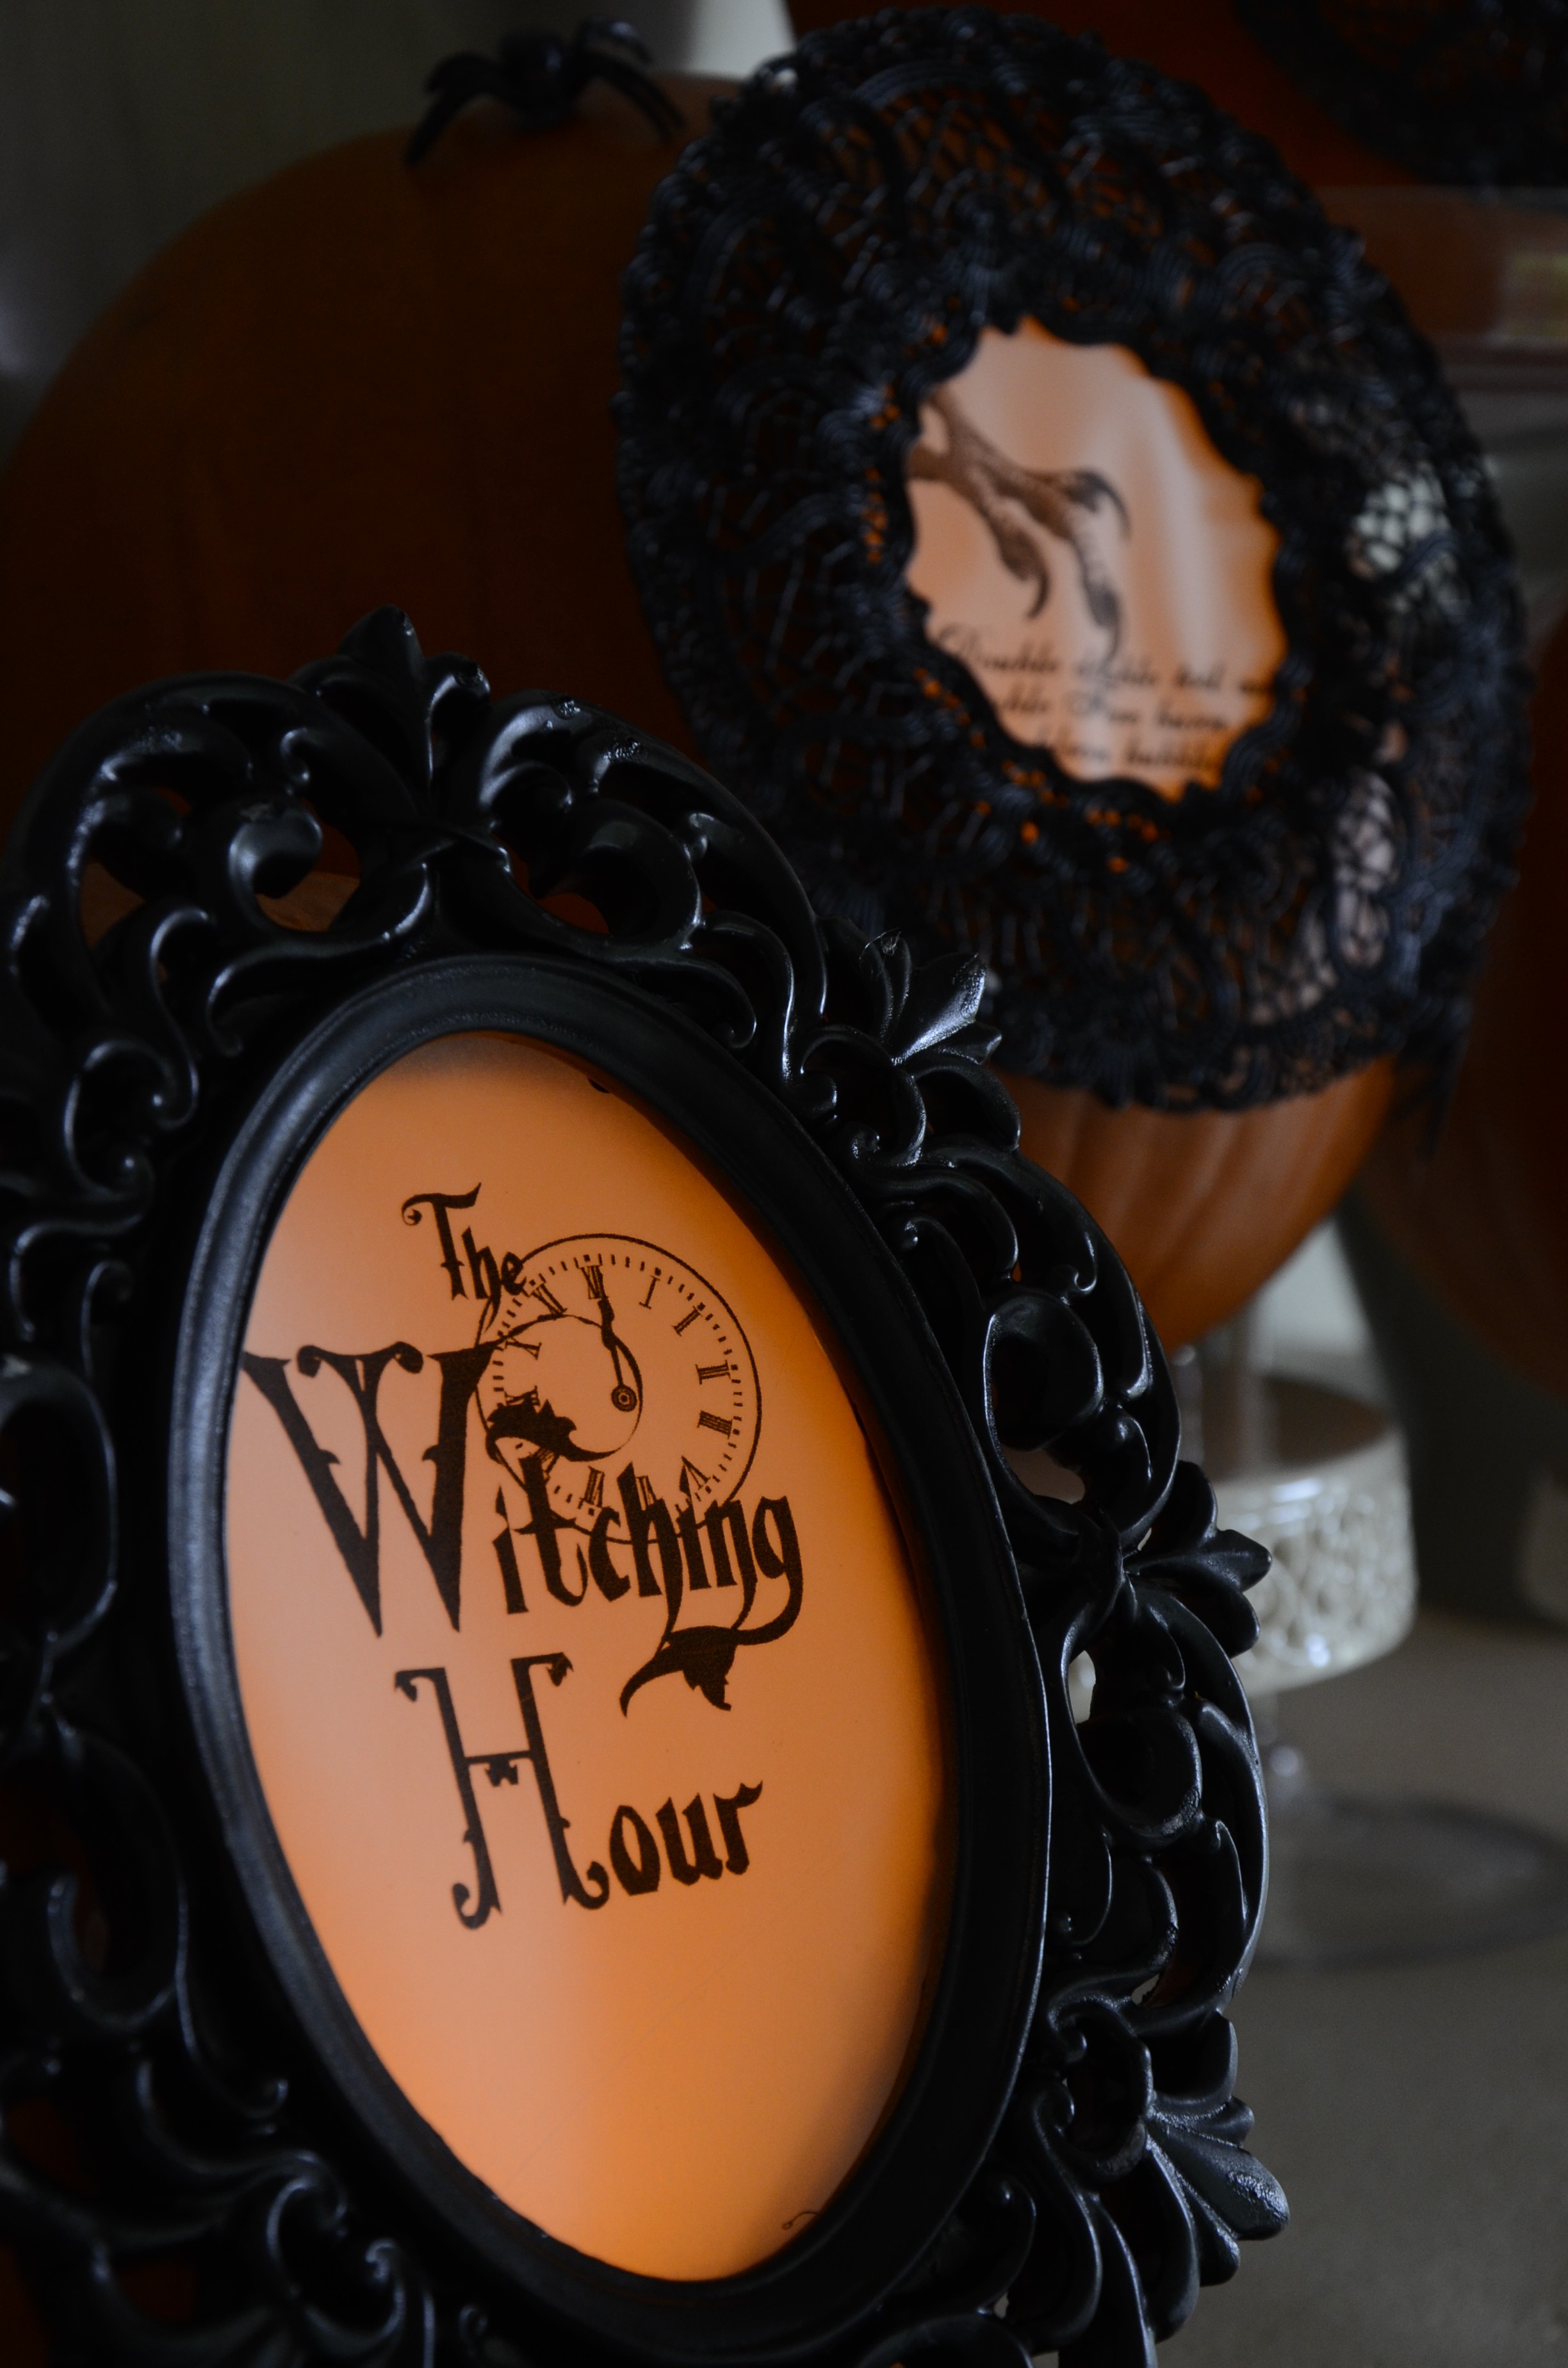
Step 2: Print these images to vellum paper and cut to fit the frame.
Step 3: Remove the backing and glass from the frames [you won’t need these] and spray paint the frames whatever color you decide, I decided on black. Let dry 1-2 hours until no longer tacky.
Step 4: Take the glass from the frame and trace it onto the pumpkin – this is the exact size of the opening of your frame. Carve out the frame opening slightly larger than the glass so the frame can insert into the opening, then clean out the seeds and membrane from the pumpkin.
 Step 5: Cut a small square on the back side of the pumpkin to allow you to insert a candle and to turn it on and off.
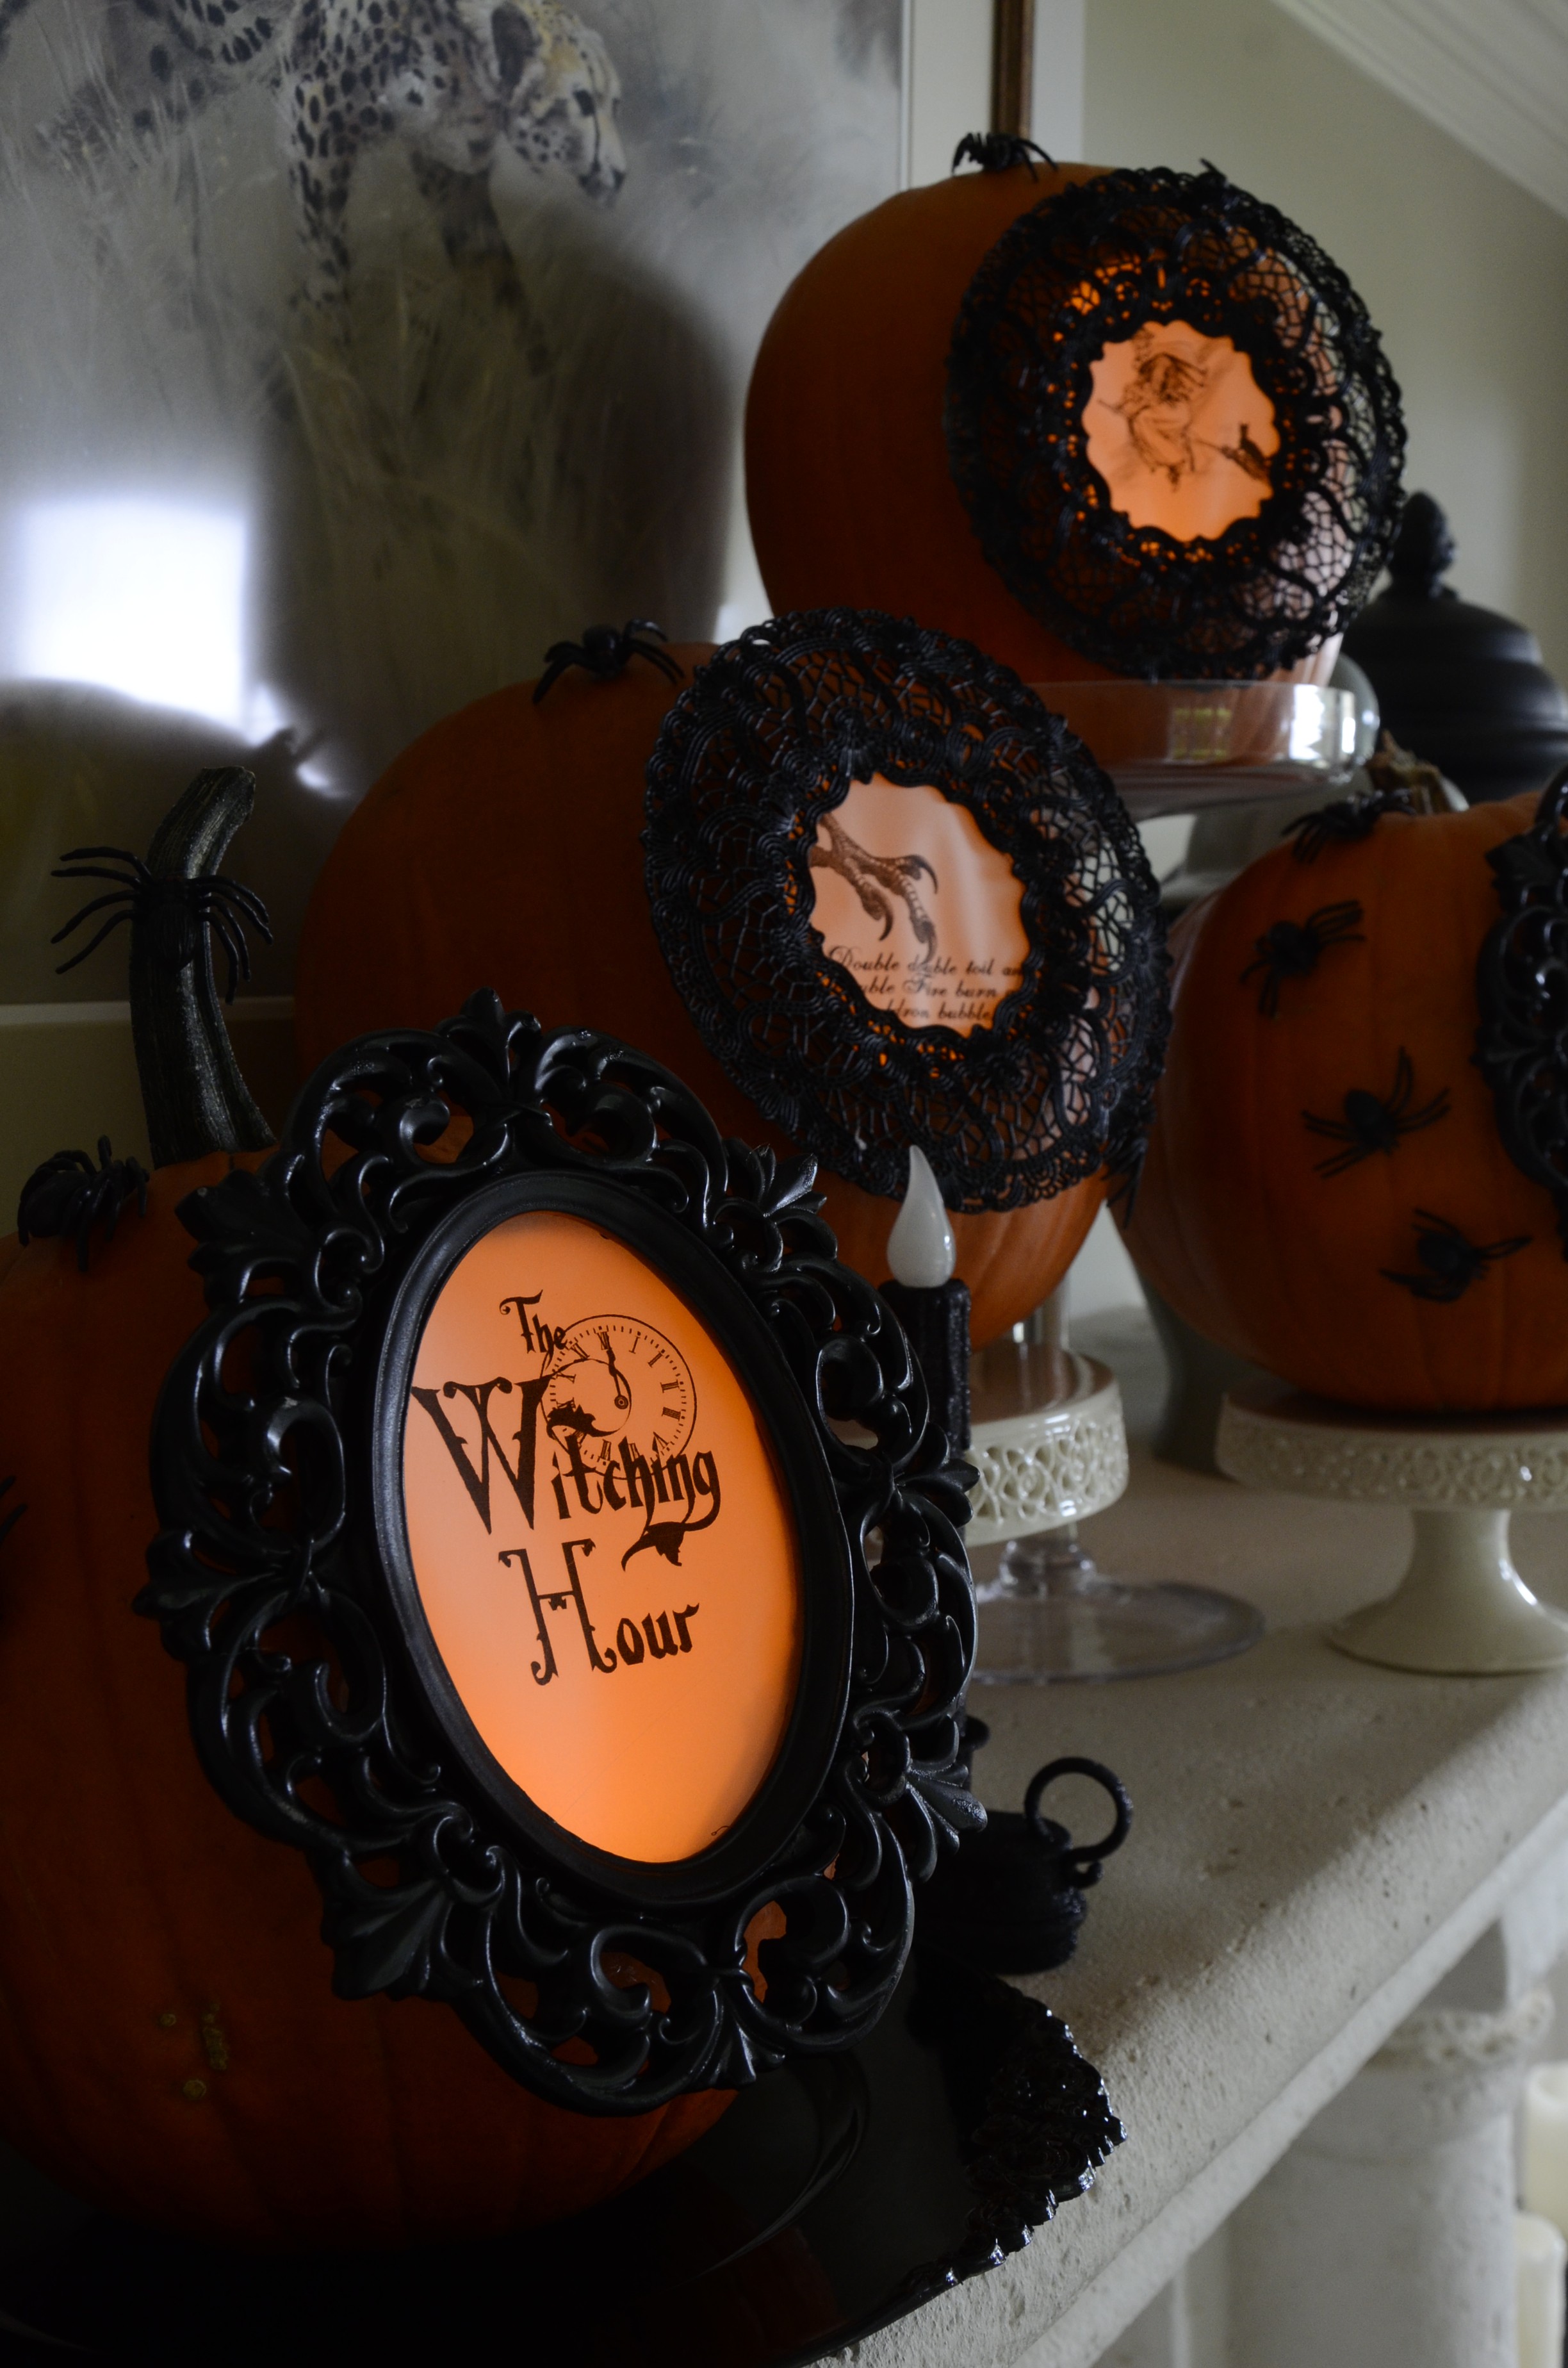
Step 6: Hot glue the image to the underside of the frame and either fit the frame into the opening of the pumpkin or if this is not possible hot glue the frame to the pumpkin, lining up the opening of the pumpkin to the opening of the frame.
Step 7: Place a small battery operated candle in the rear opening of the pumpkin and enjoy the results.
Supplies:
Inexpensive frames
Black Spray Paint
Vellum Paper [29 lb] printable
 Pumpkins chosen to fit the frames
Computer and Printer
Small battery candles for pumpkins
Hot Glue Gun and glue sticks