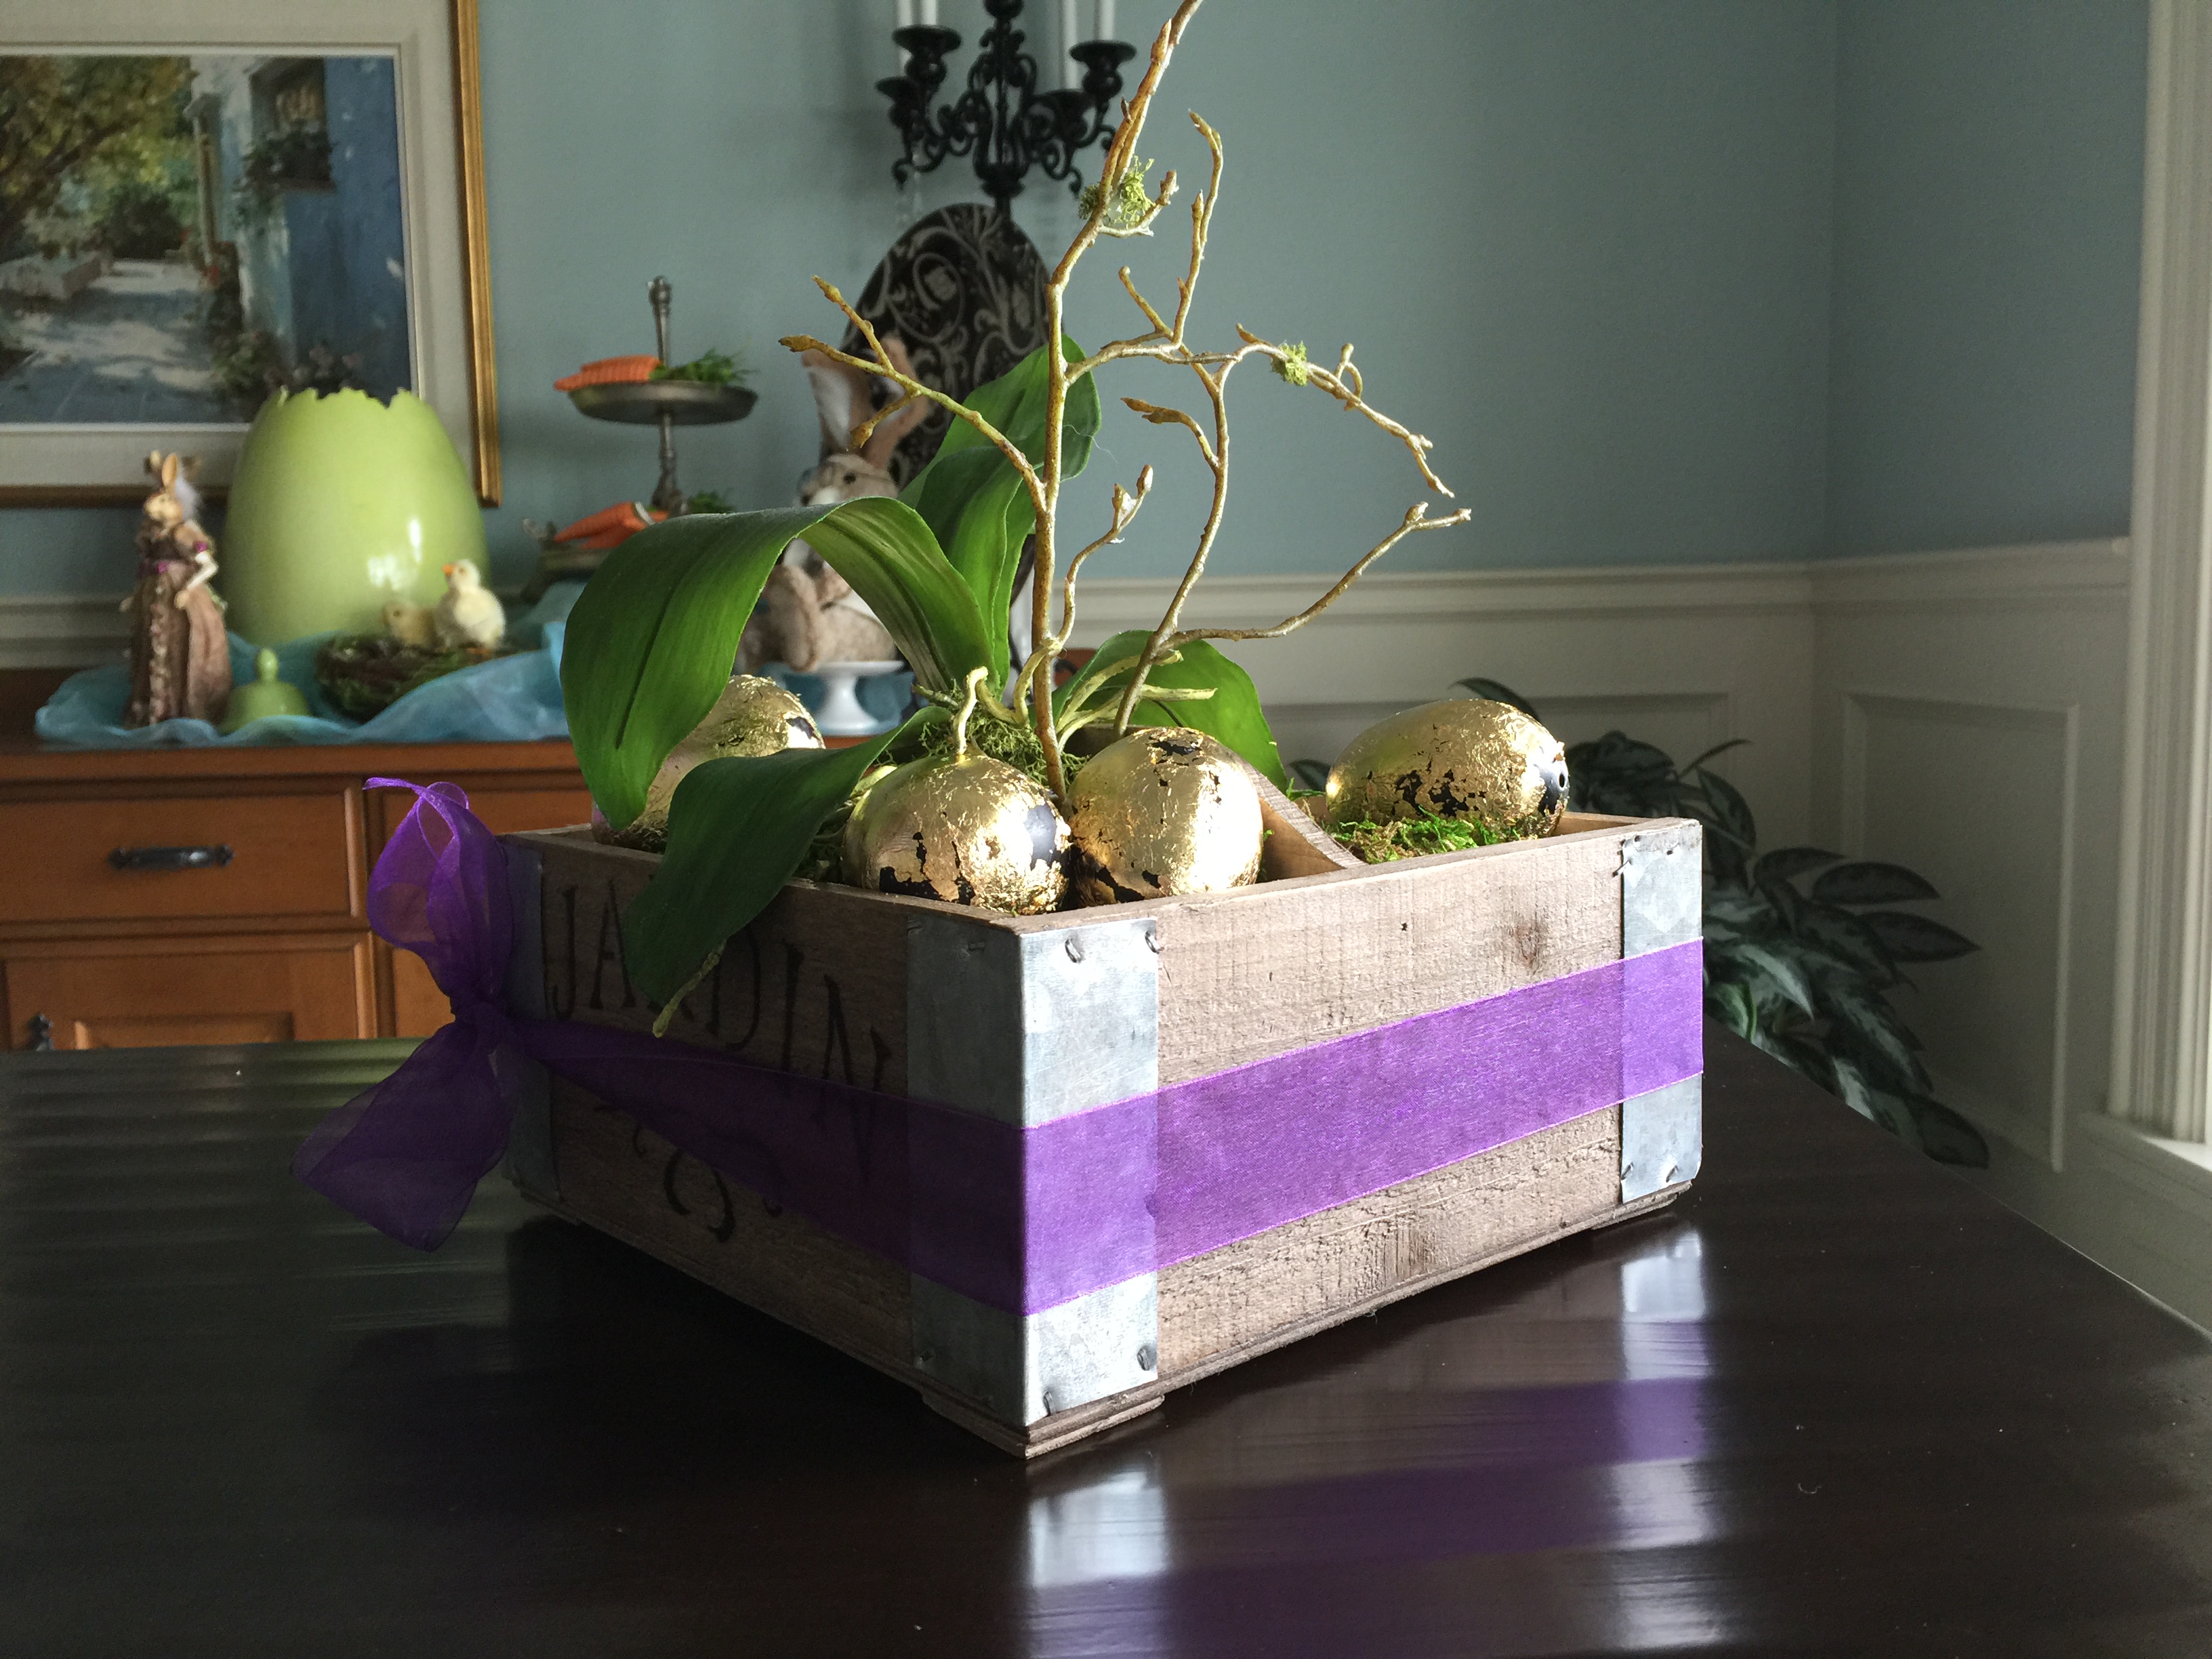
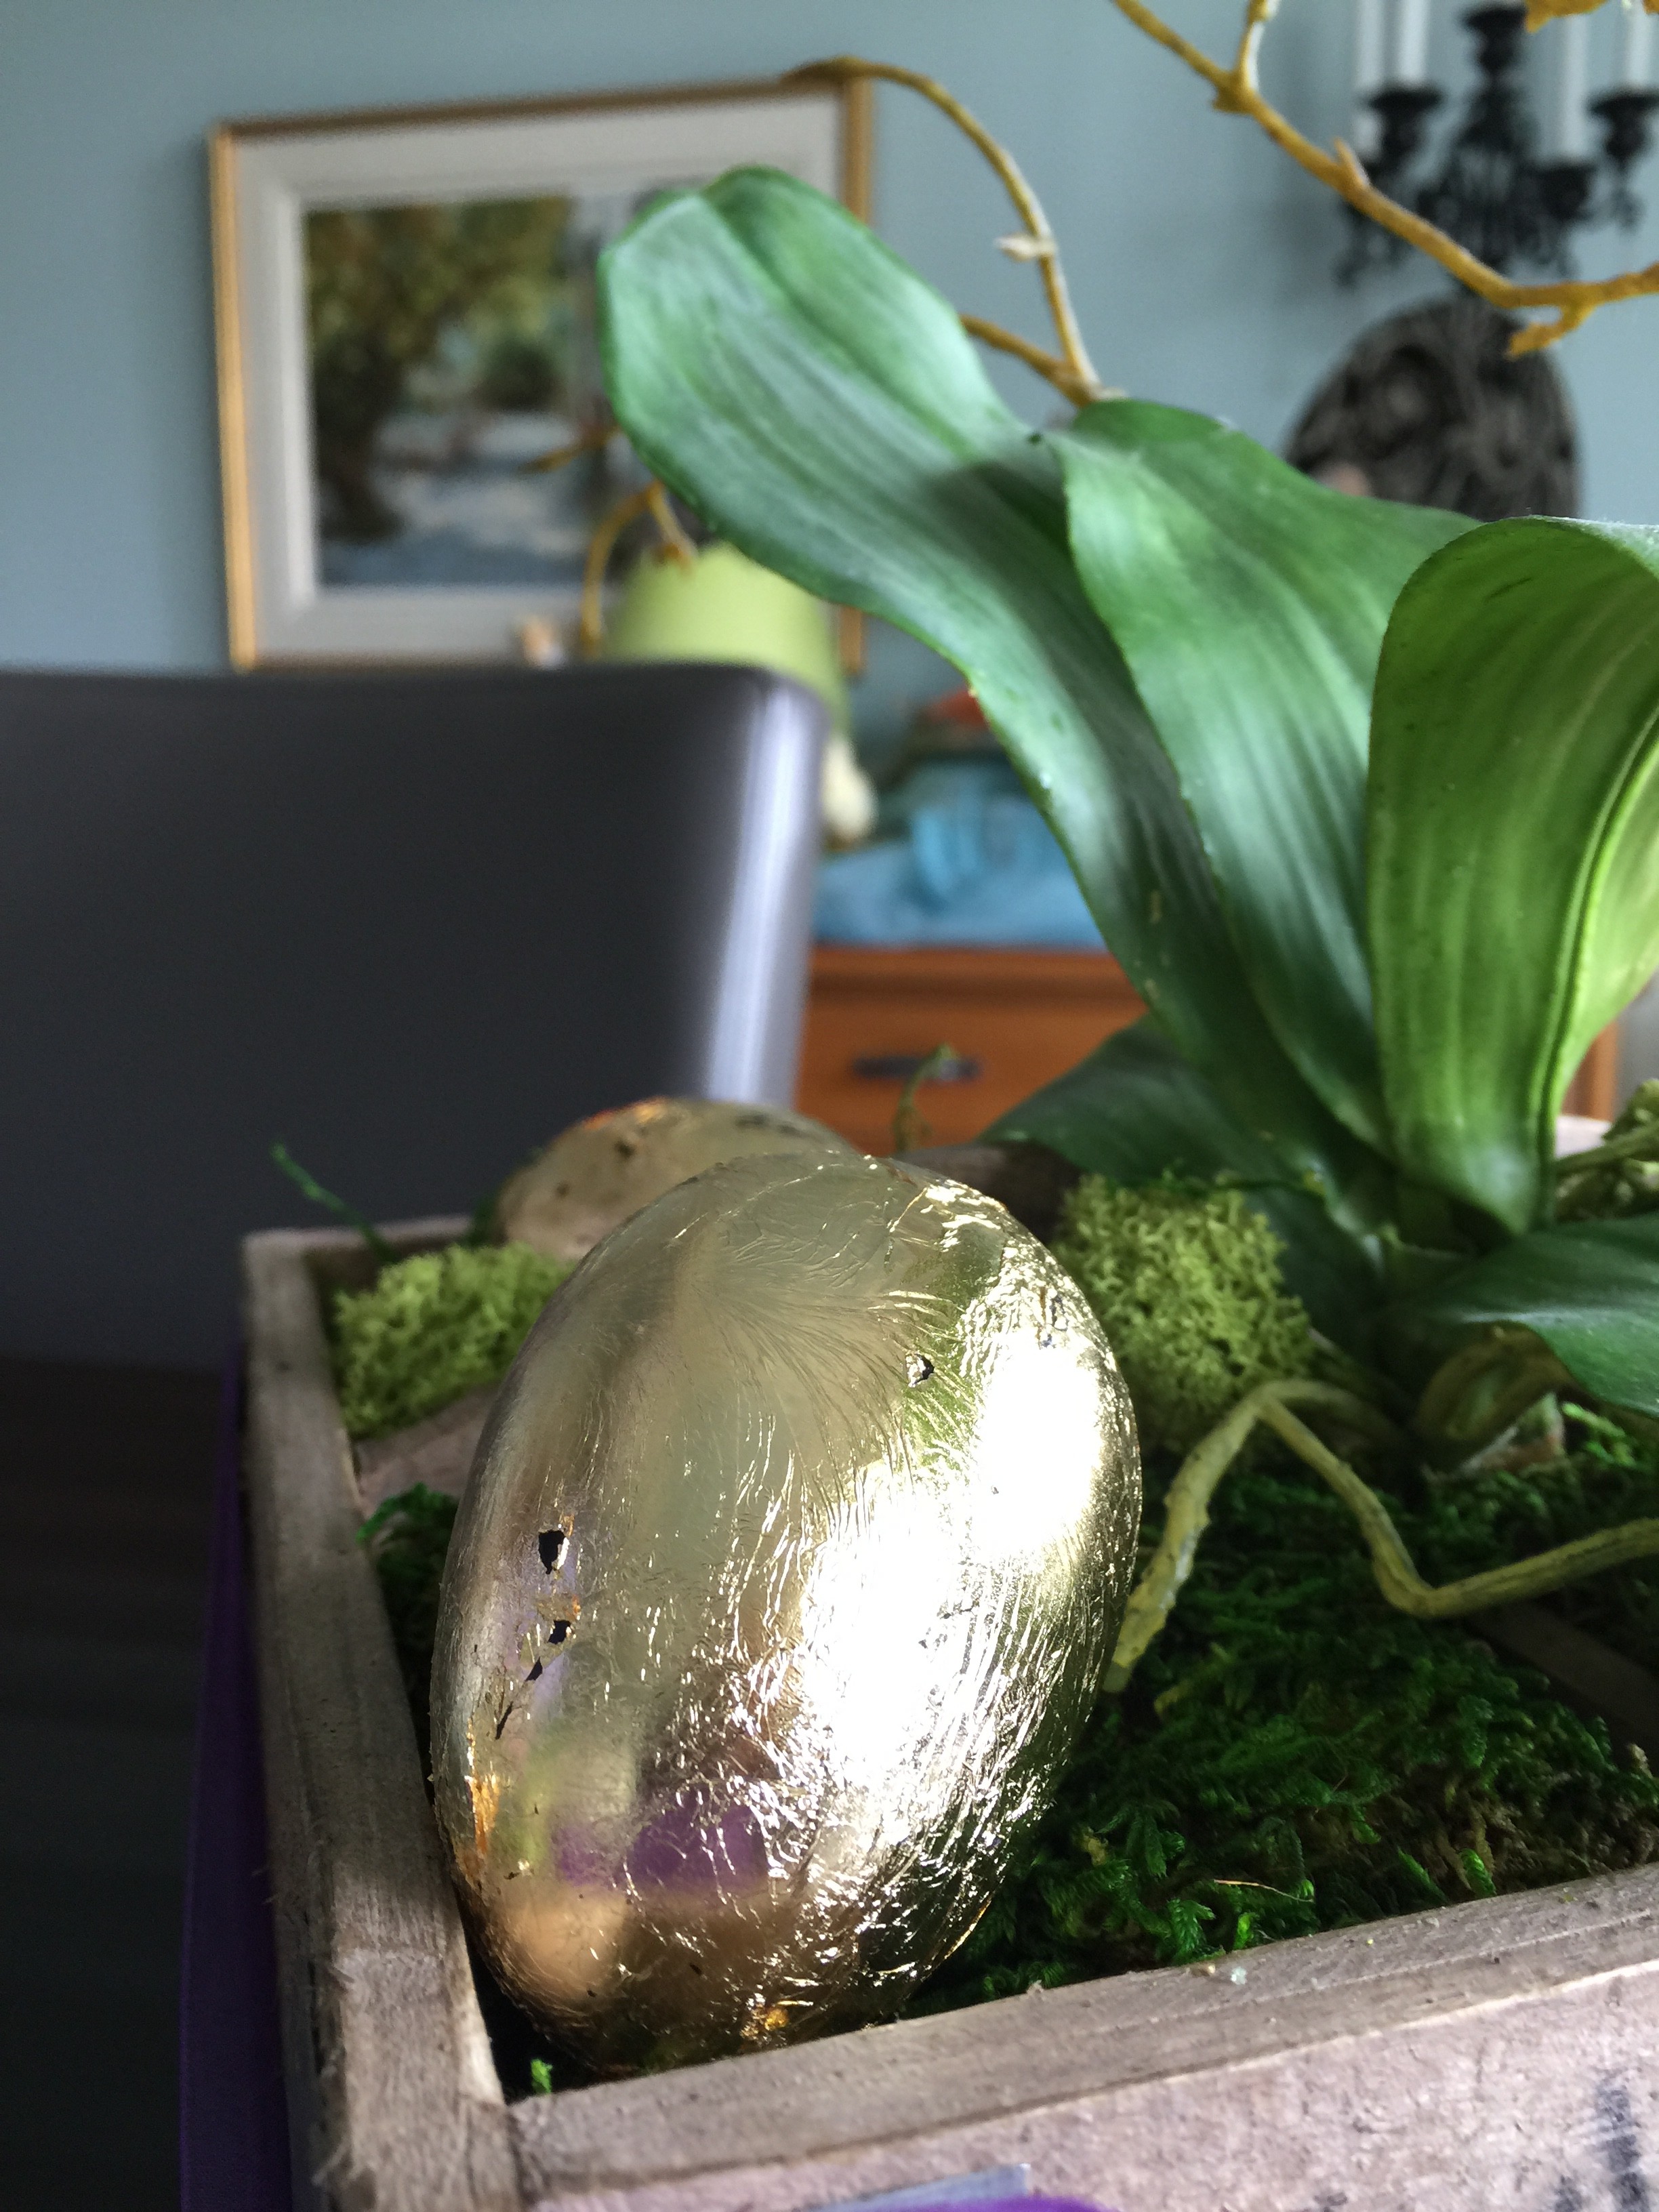
I wanted to venture farther afield than the standard, pastel dyed eggs this year, so I decided to try gold leaf or gilding. I tested two methods, and I found the traditional gilding or gold leafing was more onerous than I had hoped. I then found another method that provided the desired results.
Gold Leafing Method:
1. Wipe the surface of the eggs carefully
2. Apply a thin layer of adhesive to surface and allow to dry approximately 45 minutes.
3. Place a piece of wax paper on the gold leaf while it is still in the book, press the wax paper, and the metal leaf will stick to the wax paper.
4. Apply the gold leaf onto the now tacky surface of the egg.
5. Using a soft paintbrush, brush gently the wax paper so that the gold leaf is secured to the egg.
6. Lift wax paper.
7. Use the soft paintbrush to remove excess gold leaf.
Material:
1. Eggs [plastic or wooden];
2. Gold or Silver Leaf;
3. Wax paper;
4. Soft craft brush.
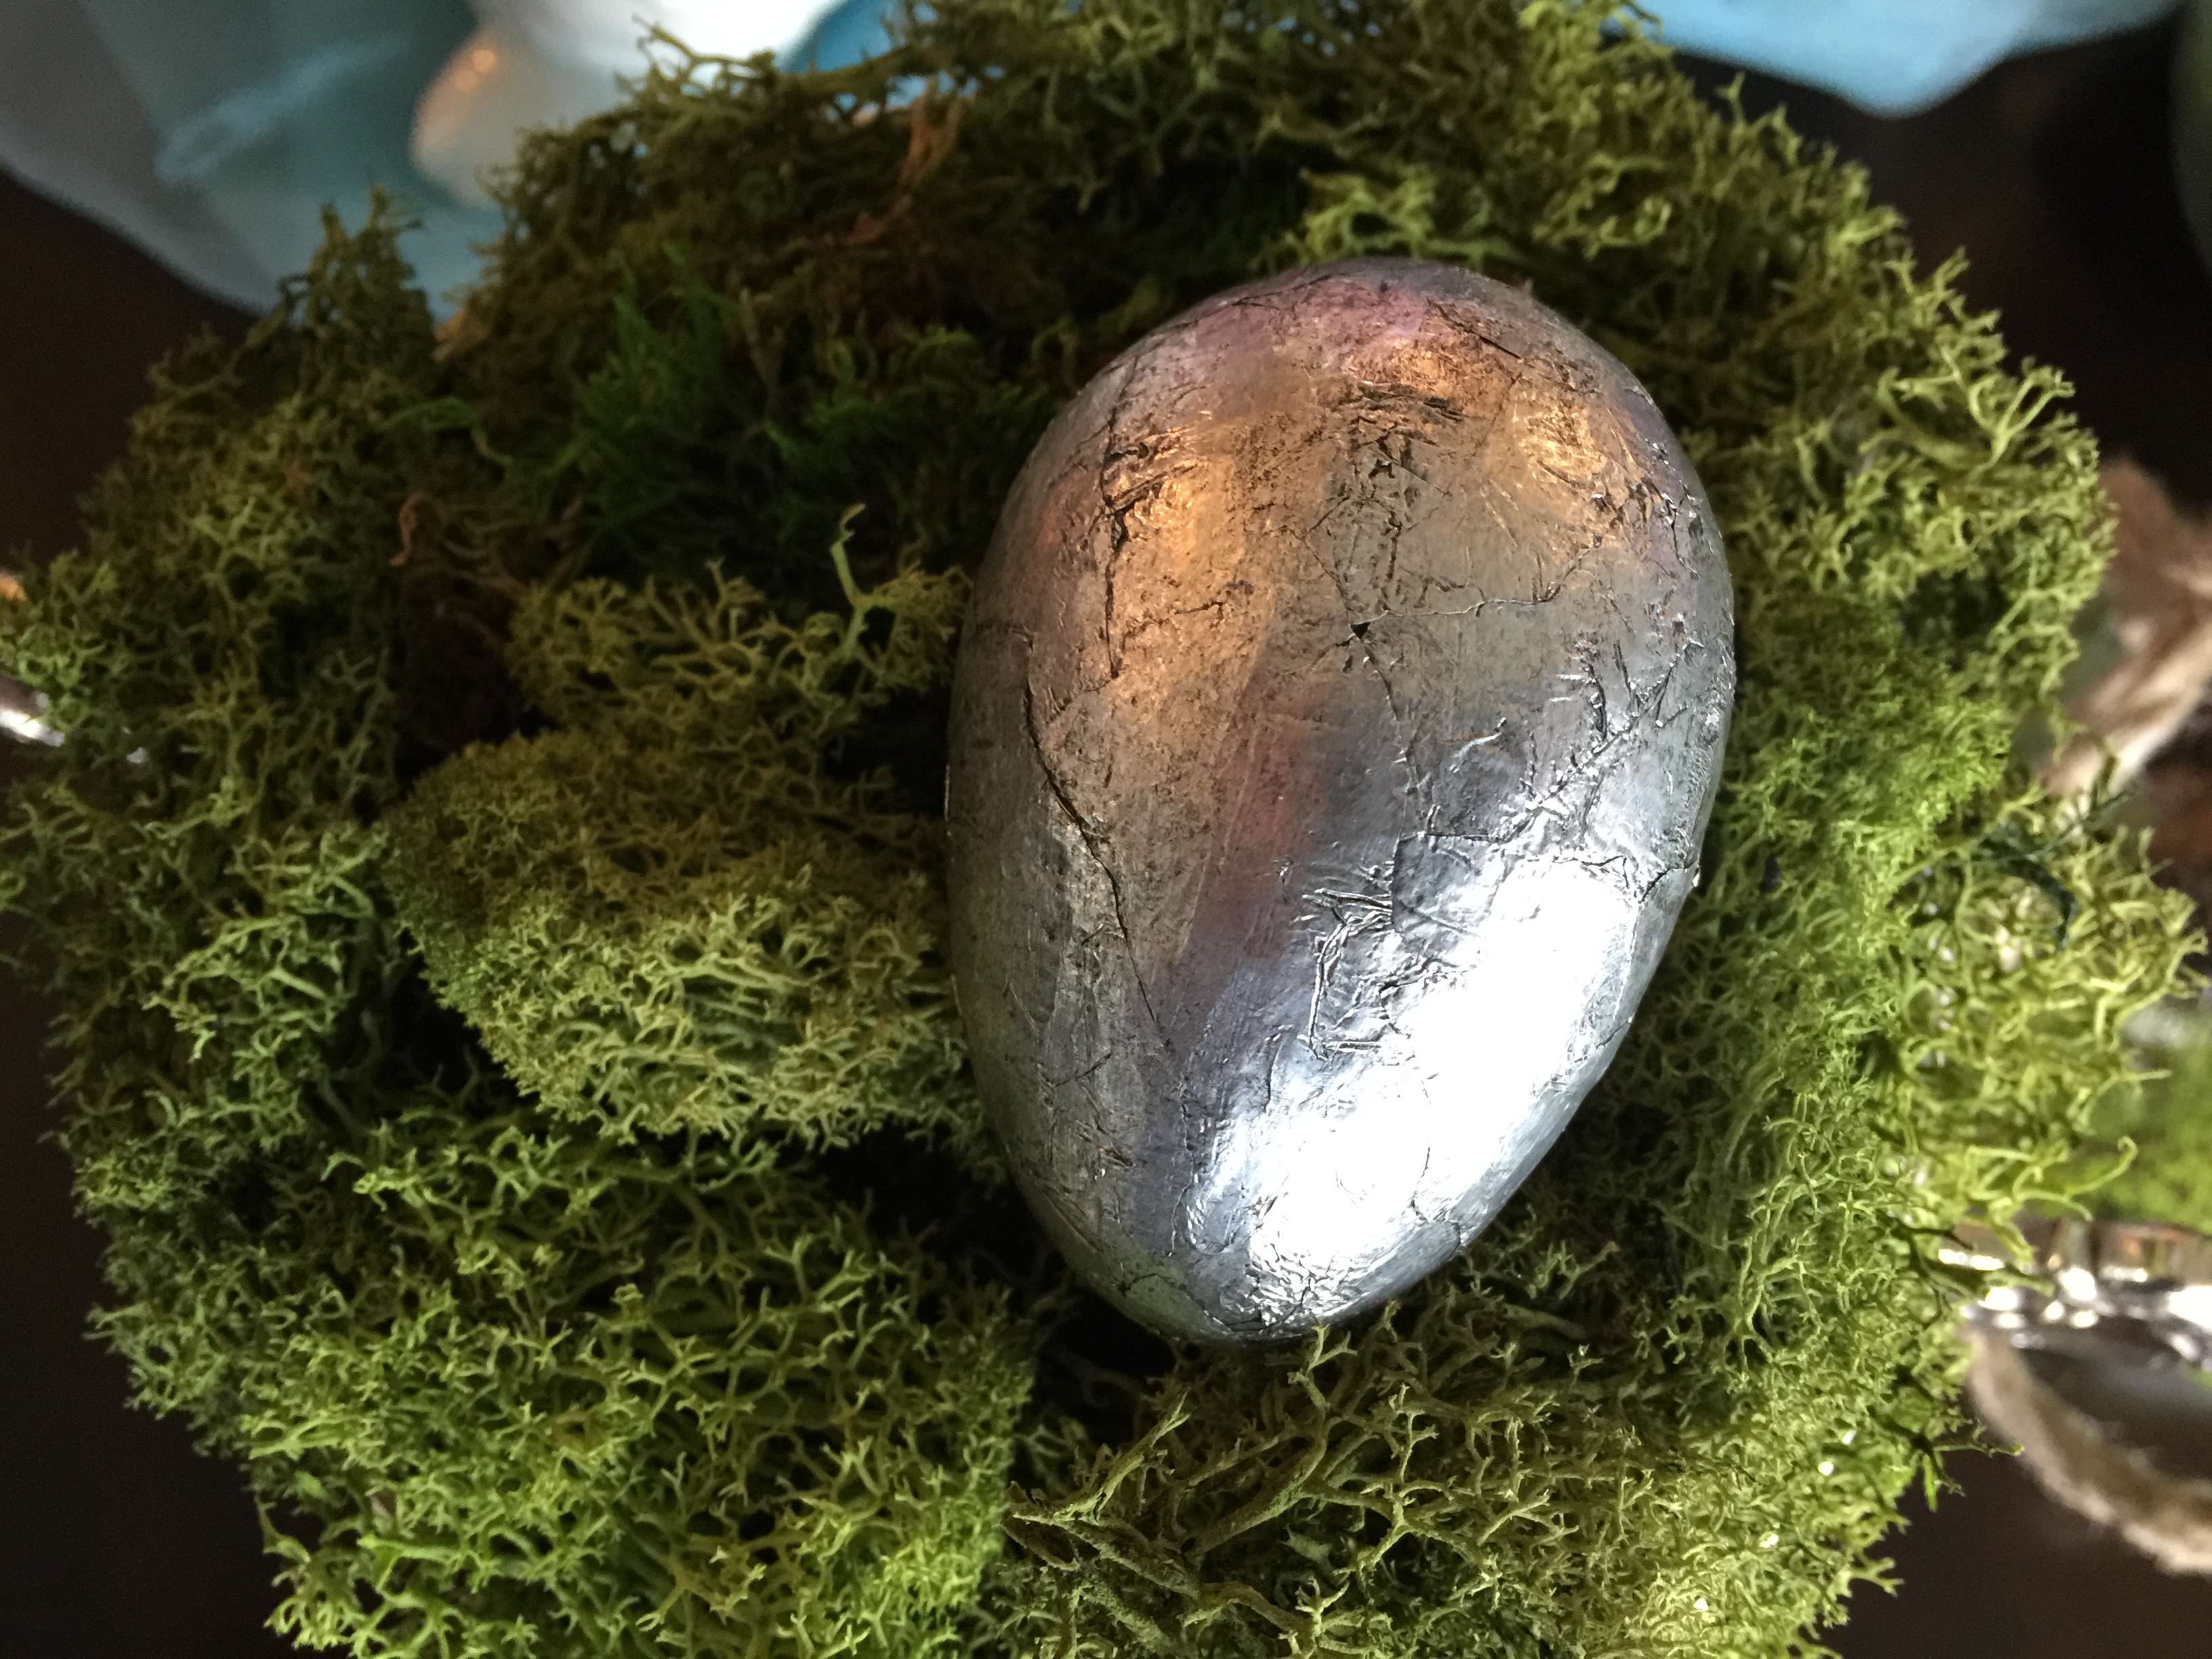
Aluminum Foil Method:
1. Tear the aluminum foil into approximately 1/2″ pieces. The more rough and jagged the pieces, the better;
2. Using a small paintbrush, cover the dull side of aluminum foil, one piece at a time, with a thin coat of glue.
3. Place the foil glue side down onto the egg and press in place.
4. Continue adding pieces, overlapping so the original egg doesn’t show through.
5. When you’ve covered approximately 1/3 of the egg, take a chopstick and smooth down the foil.
6. Continue with the second third of the egg and then the last third.
7. Take a damp piece of paper towel and gently wipe off the excess glue.
8. Dip a small piece of paper towel into black paint and rub onto the foil-covered egg.
9. Gently rub off, leaving just a little in between the pieces of foil.
Material:
1. Eggs [plastic or wooden];
2. Aluminum foil;
3. Elmer’s tacky glue;
4. Black acrylic paint;
5. Small craft brush;
6. Chopstick;
7. Paper towel.
Looks beautiful.